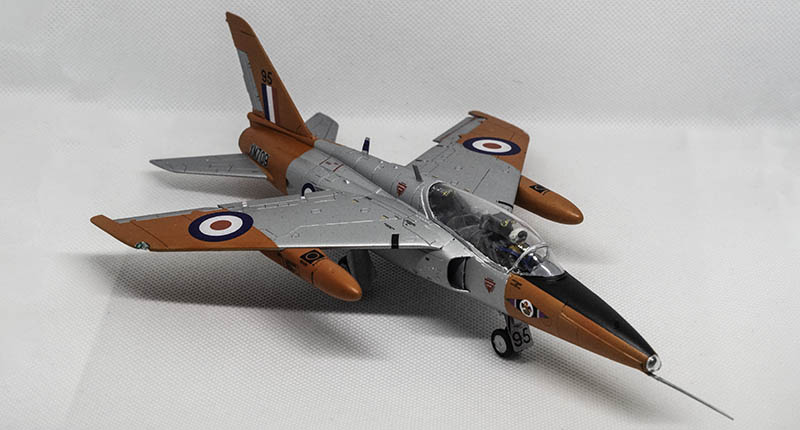
Cold War Bench Notes #5: The finished Gnat and what’s next on the workbench
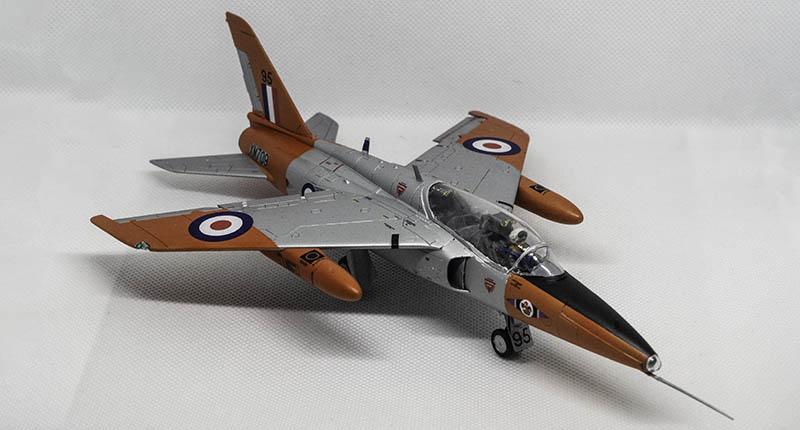
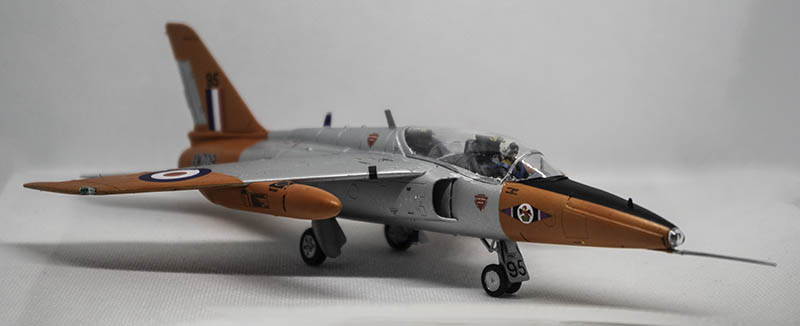
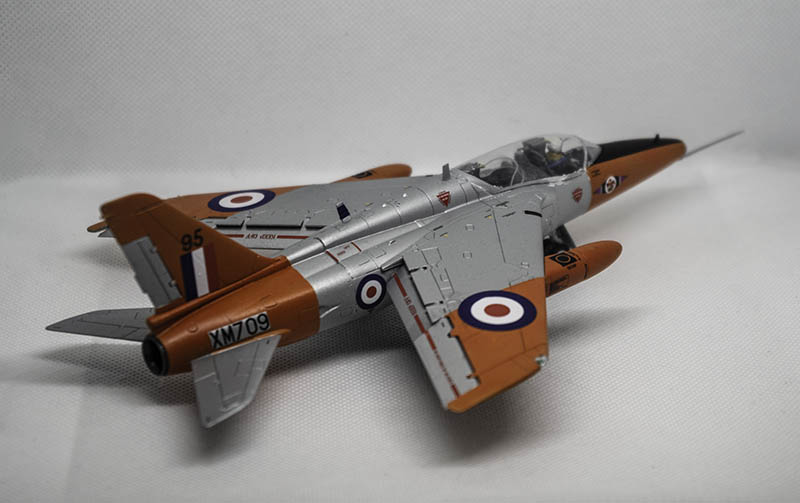
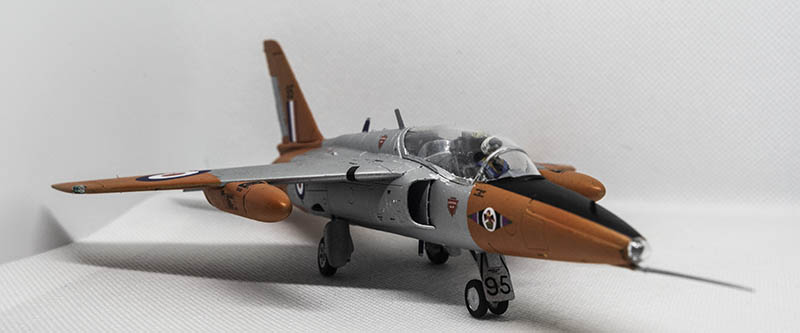
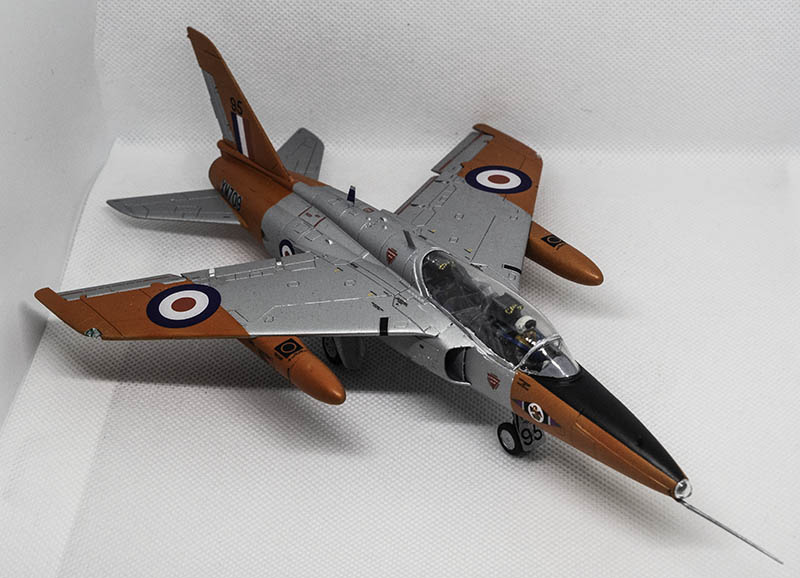
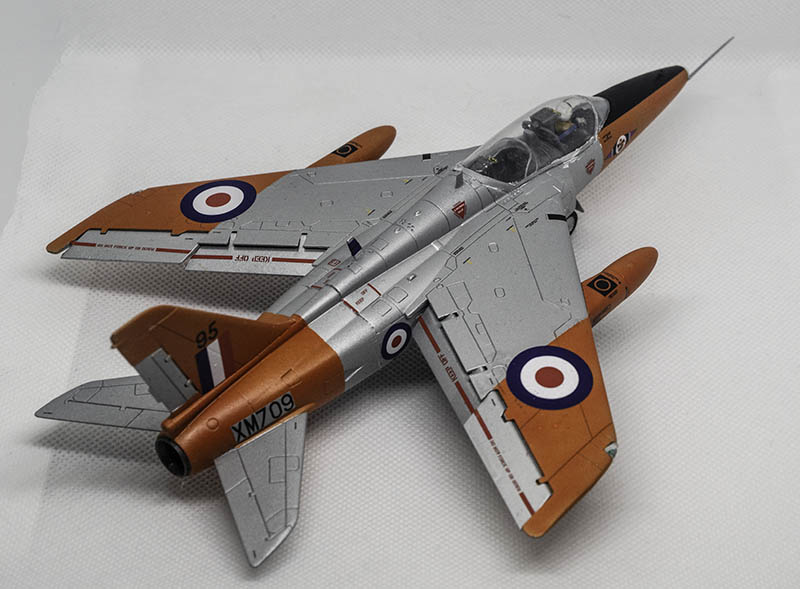
Well, I finally finished the 1/48 Airfix Folland Gnat T.1, and I’m quite pleased with the result. I didn’t encounter any further issues during the final stages of the build, although you can read my previous Cold War Bench Notes #4 for details of the few problems I did have along the way.
Applying the decals took a couple of evenings, but I always prefer to take my time with that stage of a build. A little patience usually pays off in the end.
If you’re relatively new to 1/48 scale aircraft modelling, I would definitely recommend giving this kit a go. It isn’t overloaded with parts, so it’s not an intimidating project, and it shouldn’t take too long to build a fine replica of the Folland Gnat T.1.
The photos below show the completed model
Modelu 1/48 RAF Late 40s/1950s Pilot
I’m always on the lookout for figures to accompany my builds. I think a figure complements the aircraft and helps remind us of the human element behind these machines. So, when a friend from the model club I attend, Taunton and District Scale Modellers, brought along one of his recent builds featuring some excellent figures, I naturally asked where he had found them. He pointed me towards Modelu3D.
I decided to order their 50409 RAF Late 40s/1950s Pilot figure, and I have to say that I was very impressed with the quality of the casting. The figure only requires a little clean-up to remove any small remnants of resin once it has been cut free from its protective cage.
My plan is to write a separate blog post covering the painting process for this pilot figure. As he’s wearing flight overalls, I’m hoping it won’t prove to be too complicated a paint job!

What else is on my workbench?
I’ve already started work on another 1/48 scale project, this time Trumpeter’s Hawker Sea Hawk FGA.6. So far, the build has progressed without any major issues. The fit of the parts has generally been good, although some sanding and filling have been needed in a few areas.
The most notable areas requiring attention have been the joint between the rear fuselage section and the main body, along with the seam where the two main fuselage halves come together.
I’ll share more updates on the Sea Hawk as the build progresses.
If you’d like to build one yourself, I’ve included a link to the Trumpeter Sea Hawk below. As with all affiliate links on the blog, using them helps support the site at no extra cost to you.
→ Available from Amazon


